The All-in-One Checklist for Remodeling a Kitchen
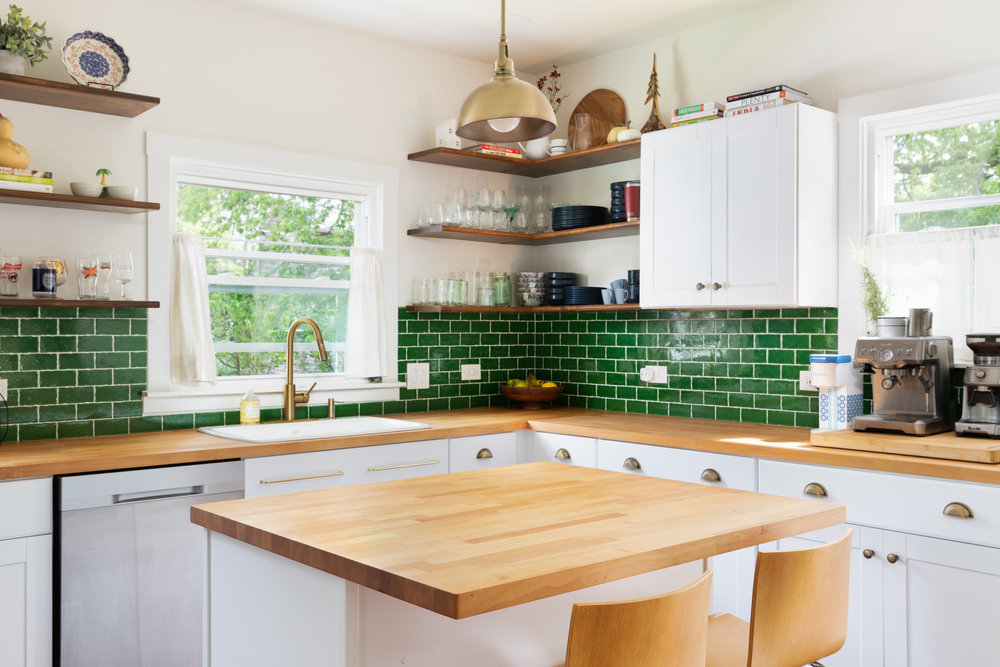
Whether you’re a homeowner ready to upgrade your outdated kitchen or a contractor managing multiple projects, one thing is sure: every successful kitchen remodel starts with a solid plan.
With so many moving parts, design decisions, product selections, inspections, and installations, it’s easy to overlook key steps or delay your timeline because a critical material didn’t arrive on time.
That’s where a kitchen remodel checklist comes in.
A clear, step-by-step checklist not only keeps your project organized, but it also helps ensure you have the right materials on-site exactly when you need them. It can prevent costly mistakes, streamline your schedule, and give you peace of mind knowing nothing will slip through the cracks.
Let’s walk through a complete checklist for remodeling a kitchen, from early planning to final finishing touches, so you’re set up for success.
The Ultimate Kitchen Remodel Checklist: 8 Steps
1. Define Your Goals and Set a Budget
Before anyone swings a hammer, take the time to clarify your goals and establish a realistic budget. This is the foundation of your entire kitchen remodel.
Ask yourself:
- Why are you remodeling the kitchen? (More space, better layout, updated style?)
- What’s working in the current space—and what isn’t?
- Are you remodeling to sell, or is this a forever kitchen?
Once your goals are clear, create a detailed budget that includes line items for materials, labor, permits, and a contingency for the unexpected. It’s easy for costs to creep up during a remodel, so giving yourself some cushion from the start can help you stay on track when surprises pop up.
Pro Tip: Be honest about priorities. If custom cabinets are a must-have, you may need to scale back on countertop upgrades or vice versa.
2. Create Your Design and Layout
With goals and a budget in place, it’s time to focus on the design. Whether you’re working with a professional designer or doing it yourself, this step is all about bringing your vision to life in a way that’s both beautiful and functional.
Start by thinking through how the kitchen will be used every day:
- Do you cook big meals often?
- Need space for entertaining?
- Want more storage or a better workflow?
A thoughtful layout makes a huge difference. Keep the kitchen triangle in mind—this classic principle connects your sink, stove, and refrigerator for efficient movement during meal prep. Also consider the placement of cabinets, islands, seating areas, and pathways.
At this stage, most remodelers create a floor plan or 3D rendering to visualize the space and ensure everything fits as intended. This is also the time to finalize measurements and product selections so you can order materials early and avoid delays down the line.
Pro Tip: Double-check appliance dimensions and door swing clearances when planning your layout—a common mistake that can lead to costly adjustments later.
3. Gather Materials
Now that the design is finalized, it’s time to order the materials to bring it to life. Having the right products on-site at the right time is key to keeping a remodel on schedule and avoiding costly delays.
Use this kitchen remodel materials checklist to guide orders:
Essential Kitchen Remodel Materials:
- Cabinetry – Stock, semi-custom, or fully custom cabinets, including hardware and trim
- Countertops – Options like quartz, granite, butcher block, or solid surface
- Backsplash tile and grout – Choose materials that complement your counters and cabinets
- Flooring – Durable and moisture-resistant options such as LVP, tile, or engineered hardwood
- Appliances – Fridge, range, microwave, dishwasher, hood, and garbage disposal
- Sink and faucet – Including accessories like soap dispensers or filtration systems
- Lighting – Overhead fixtures, task lighting, under-cabinet lighting, and dimmers
- Plumbing and electrical supplies – Shut-off valves, GFCI outlets, wiring, and switches
- Ventilation – Range hood and ductwork (especially important for gas cooktops)
- Paint and primer – Walls, ceilings, and trim
- Fasteners, adhesives, and sealants – Ensure strong, lasting installation across materials
- Trim and finishing materials – Crown molding, baseboards, and transition pieces
Pro Tip: Work with a trusted supplier like Standard Supply & Lumber to get reliable delivery timelines, expert guidance, and quality materials that match your vision and budget.

4. Demo and Prep the Space
With materials ordered and plans finalized, it’s time to roll up your sleeves and get started. Demo and prep work mark the official beginning of the kitchen transformation.
During this phase:
- Remove old cabinets, appliances, countertops, flooring, and fixtures.
- Cap off plumbing and electrical connections for safety.
- Check for hidden issues like water damage, mold, or outdated wiring—this is your chance to address them before proceeding.
- Seal off the kitchen with plastic sheeting or temporary barriers to protect other areas of your home from dust and debris.
If you’re a contractor, now’s the time to double-check your measurements against the delivered materials and confirm your crew’s schedule for each trade.
Pro Tip: Rent a dumpster or schedule a haul-away service before demo day to keep your workspace clean and efficient.
5. Complete Rough-In Work and Schedule Inspections
Once the kitchen is stripped down to the studs, it’s time to do the rough-in work—the behind-the-walls essentials that set the stage for everything else.
This phase includes:
- Plumbing – Moving or updating water and drain lines for the sink, dishwasher, or refrigerator
- Electrical – Adding or relocating outlets, switches, lighting, and appliance circuits
- HVAC – Adjusting ductwork or adding ventilation if needed
Depending on the scope of the remodel, you may need permits for this stage. If that’s the case, schedule inspections before you cover anything with drywall or cabinetry.
Pro Tip: Use this opportunity to add extras like USB outlets, under-cabinet lighting wiring, a pot filler, or other things that are tough to install once the walls are closed up.
6. Make Structural Updates (If Needed)
Not every kitchen remodel requires structural work, but if yours does, now’s the time to have it done.
This might include:
- Removing or relocating walls to open up the space
- Reinforcing flooring to support heavy appliances or stone countertops
- Adding or enlarging windows for more natural light
- Installing support beams or headers if you’re taking out load-bearing walls
Structural changes usually require permits and professional support from a builder, architect, or structural engineer. Getting this step right ensures the kitchen remodel is not only beautiful, but also safe and code-compliant.
Pro Tip: If the design includes an island with plumbing or electrical, plan for proper in-floor rough-ins before new flooring goes down.
7. Install Cabinets, Flooring, and Fixtures
With the structure set and behind-the-wall work complete, it’s time really to bring the kitchen to life. This phase is where everything starts coming together—and where precision matters most.
Start with:
- Cabinet installation – Begin with upper cabinets, then base cabinets, ensuring everything is level and securely fastened.
- Countertops – Once cabinets are in, templating and installation can begin. Most solid-surface and stone tops are custom-cut to fit.
- Backsplash tile – Installed after countertops, this adds both style and protection.
- Flooring – Depending on the material, install flooring before or after cabinets (ask your contractor or supplier for guidance).
Then move on to:
- Appliance installation – Fridge, range, dishwasher, and hood.
- Sink and faucet – Hook up plumbing and test for leaks.
- Lighting fixtures – Install pendants, recessed lights, under-cabinet lights, and switches.
Pro Tip: Have the cabinet layout and appliance specs on hand during installation to avoid misalignments, and confirm that everything fits as intended.

8. Add the Final Touches
At this stage, the kitchen is almost complete. It’s time to tie everything together with the finishing details that make the space feel polished and functional.
Final steps to complete your remodel:
- Paint walls and trim – Do a final coat once all major work is done to avoid scuffs and touch-ups.
- Install cabinet hardware – Handles and pulls are the jewelry of your kitchen; they make a significant visual impact.
- Add storage accessories – Pull-out shelves, drawer organizers, lazy Susans, and vertical tray dividers boost efficiency.
- Install transition pieces and trim – Finish off flooring edges, crown molding, and baseboards.
- Clean the space thoroughly – Dust, debris, and construction residue can accumulate, especially on new surfaces.
- Test everything – Run appliances, check outlets and lights, and make sure plumbing is leak-free.
- Punch list walkthrough – Make note of any last tweaks or fixes needed before calling it done.
Pro Tip: Take photos and videos of the finished space for your records or to show off your hard work!
Common Kitchen Remodel Challenges (and How to Avoid Them)
Even the most well-planned kitchen remodel can run into unexpected hurdles. The good news? Knowing what to watch for can help you stay one step ahead.
Here are some common challenges—and tips to handle them:
Hidden Damage During Demo
Old plumbing leaks, mold, or structural issues can reveal themselves once walls come down.
The fix: Build a 10–20% contingency into your budget for surprises.
Backordered or Delayed Materials
That perfect tile or appliance might not arrive when you need it.
The fix: Order materials with long-lead items early and work with a reliable supplier to keep everything on schedule.
Permit or Inspection Delays
Waiting on approvals can stall progress.
The fix: Start the permit process early and schedule inspections as soon as you’re ready.
Unclear Communication Among Contractors
Misalignment between trades can lead to errors and rework.
The fix: Keep everyone in the loop with a shared timeline and layout plans.
Scope Creep
Adding upgrades mid-project is tempting, but it can wreck your budget.
The fix: Stick to your original plan unless changes are truly necessary.
Pro Tip: Partnering with a trusted local supplier like Standard Supply & Lumber can help prevent many of these issues by ensuring you get the right products on time and with expert support.
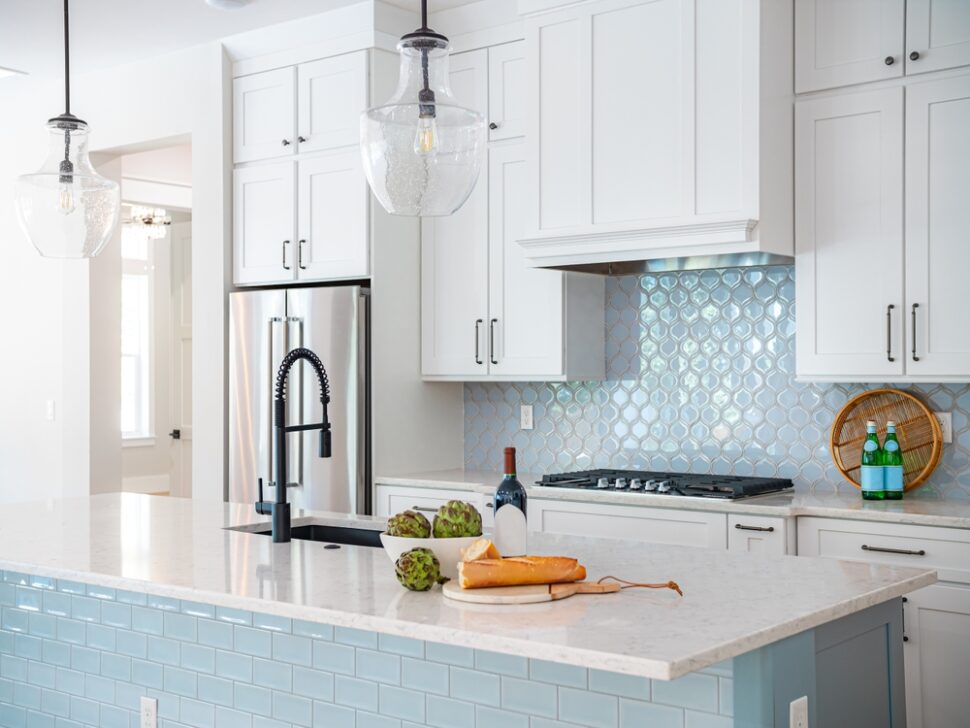
Overlooked Details That Make a Big Difference
It’s easy to get caught up in big decisions like cabinet styles and countertop colors, but sometimes the little things have the biggest impact on everyday use.
Here are a few commonly overlooked details to consider before you wrap up your remodel:
- Outlet Placement
Think beyond the basics—add outlets inside drawers for charging, in the pantry for small appliances, or on the island for convenience. - Ventilation
A powerful, properly vented range hood is essential for air quality and moisture control, especially if you cook often. - Lighting Layers
Don’t rely on a single overhead fixture. Combine ambient, task, and accent lighting to make your kitchen functional and inviting at any time of day. - Accessible Storage
Make the kitchen easier to use with deep drawers for pots, slide-out trays in base cabinets, and vertical dividers for cutting boards. - Garbage and Recycling Zones
Built-in bins or hidden pull-outs make waste disposal easier and help keep the space looking clean.
Pro Tip: Walk through daily kitchen routines (cooking, cleaning, storing) during the planning phase to spot opportunities to improve layout and function.

Ready to Remodel? Start With a Solid Plan With Standard Supply & Lumber
A successful kitchen remodel doesn’t just happen—it’s built step by step, decision by decision, with the right tools and materials in place. And when it comes to sourcing quality materials, expert advice, and reliable delivery, Standard Supply & Lumber has your back. We carry everything you need to complete your kitchen remodel with confidence.
Let’s build something better together.
Need help getting started? Contact our team or stop by your local Standard Supply & Lumber location—we’ll make sure you have what you need, when you need it.
