
How to Replace Bathroom Countertops: The Step-by-Step Guide for Homeowners
Swapping out your bathroom countertop can be one of the most cost-effective and visually impactful ways to upgrade your space, without having to replace your entire vanity. Whether you’re going for a modern refresh, tackling long-standing damage, or preparing your home for resale, a new countertop can dramatically elevate the look and functionality of your bathroom. But how do you do it carefully and correctly? It’s not just about choosing a style you love—it’s about following the right steps to ensure your new countertop is installed securely and lasts.
When to Replace Bathroom Countertops: Common Signs
Deciding whether to replace bathroom countertops isn’t always a straightforward call. While refinishing, painting, or even restyling can temporarily mask imperfections, there are situations where full replacement is the smarter choice.
Visible Damage
Cracks, chips, and deep scratches aren’t just unsightly—they can also lead to water damage and mold if left unaddressed. Over time, wear and tear from heat, moisture, and daily use can break down the integrity of your countertop. If your current surface has structural issues, replacing it is usually the safest bet.
Persistent Stains or Discoloration
Some stains just won’t budge—especially on porous materials like laminate or certain natural stones that haven’t been properly sealed. Discoloration from water, beauty products, or cleaners can make your bathroom look dated and dirty, even when it’s not. If you’ve tried everything and the stains persist, it’s likely a sign to replace bathroom countertops.
Outdated Appearance
Styles change, and a countertop that was trendy a decade ago may now look out of place. Busy patterns, bold colors, or low-end materials can quickly make a bathroom feel outdated. A new material and design—like a sleek quartz countertop in a neutral shade—can instantly modernize your space and increase its aesthetic appeal.
Renovations
If you’re already giving your space a facelift, it makes sense to replace bathroom countertops while you’re at it. New paint, tile, or fixtures may clash with an old countertop, and replacing everything at once helps ensure a cohesive look.
Preparing to Sell Your Home
If you’re listing your home, investing in a new countertop can be a wise move. Bathrooms and kitchens sell houses, and a fresh countertop can help make a strong first impression. Buyers love seeing turnkey upgrades, and it can give your home a competitive edge in the market.
Functional Upgrades
Sometimes, easy everyday use is the reason for change. Maybe your current countertop doesn’t accommodate the type of sink you want, or you need more surface area. Replacing the countertop can give you the flexibility to choose a layout and features that suit your lifestyle.
How to Replace Bathroom Countertops in 7 Steps
Swapping your bathroom countertop isn’t as simple as popping off the old one and placing on a new one. Proper preparation, accurate measurements, and careful installation are essential for long-term performance and appearance. Let’s walk through how to replace bathroom countertops the right way.
#1. Gather Tools and Materials
Before you get started, you’ll need the right resources in place. Having everything ready ahead of time will make the project smoother and faster. Here’s a basic list:
- Safety glasses and gloves
- Measuring tape
- Utility knife
- Pry bar or putty knife
- Screwdriver
- Level
- Caulk gun and silicone caulk
- Adjustable wrench
- Plumber’s putty
- Construction adhesive
- New countertop and sink (if integrated or separate)
#2. Measure Your Space
Accurate measurements are key. Measure the length, width, and depth of your existing countertop. Don’t forget to account for any overhangs or backsplashes. If you’re ordering a prefabricated countertop or having one custom-made, these measurements will determine the fit. Here’s how to measure properly:
Measure the Length and Depth
- Length: Use a tape measure to determine the length of the countertop from one end to the other, edge to edge. If your countertop runs along a wall, measure from the leftmost edge to the rightmost edge.
- Depth: This is the distance from the wall to the front edge of the countertop. Most standard bathroom countertops are around 22 inches deep, but always measure to confirm.
Account for Sink Cutouts
While you don’t need to subtract the sink space from your total dimensions, it’s important to note the size and placement of your sink so your new countertop can be fabricated with the right cutouts.
Measure:
- Width and depth of the sink basin
- Distance from the back wall to the center of the sink
- Distance from the edge of the countertop to the sink’s edge
Consider taking a photo of the current setup to share with your countertop supplier or fabricator for reference.
Measure Backsplash (if needed)
If your new countertop will include a backsplash, measure the height of the current backsplash and the length it spans across the wall. Standard backsplash height is usually 3 to 4 inches, but custom pieces may vary.
Measure for Overhang (if needed)
Most countertops overhang the vanity base slightly—typically by ½ inch to 1 inch in the front and on the sides. Include this in your total measurement so you don’t end up with a countertop that’s too small.
#3. Remove the Existing Countertop
Start by turning off the water supply and disconnecting the plumbing beneath the sink. Use a utility knife to cut through the caulk along the edges. Then, gently pry up the countertop using a putty knife or pry bar. Be careful not to damage the vanity base if you plan to keep it.
#4. Prepare the Vanity Base
Once the old countertop is off, inspect the vanity. Clean off old caulk, adhesives, and debris. Ensure the top is level, and use a level to double-check. If the surface is uneven, use shims or sand it down until it’s even. A clean, level surface is crucial for a secure countertop install.
#5. Attach the New Countertop
Place the new countertop onto the vanity base and test the fit. If everything aligns correctly, remove it and apply a bead of construction adhesive or silicone caulk along the top edges of the vanity. Carefully lower the countertop into place, pressing down evenly to ensure a strong bond.
#6. Reinstall Faucet and Plumbing
Install your faucet into the designated holes in the new countertop before reconnecting the plumbing. Use plumber’s putty or silicone around the sink drain and faucet base to prevent leaks. Then, reconnect the water supply lines and test for any leaks before moving on.
#7. Seal and Finish
If your countertop requires sealing (such as some natural stones), now is the time. Fortunately, there are options—like quartz countertops from Cambria—that are nonporous and don’t require sealing, which makes this step easier. Finish by caulking around the backsplash or edges where the countertop meets the wall to ensure a clean, watertight finish.
Expert Tips: How to Install Bathroom Countertops
The installation is where everything comes together—and where things can easily go wrong. Here are some expert tips to help ensure a smooth process:
- Dry Fit First: Always place the countertop in position before securing it to make sure it fits perfectly. This step allows you to confirm that everything lines up the way it should, including the edges, backsplash, faucet holes, and sink cutouts. If you notice issues, you can stop and correct the problems before permanently adhering the countertop.
- Use the Right Adhesive: Don’t skimp on quality construction adhesive, especially for heavier materials like quartz or granite.
- Protect the Surface During Install: Use a soft cloth or towel to prevent scratches when maneuvering the countertop.
- Seal Around Plumbing Fixtures: Use waterproof silicone around any holes for faucets or drains to prevent leaks from damaging the vanity underneath.
- Let Caulk Cure Fully: Don’t rush the curing time. Let adhesive and caulk cure completely before using the sink to avoid loosening or warping.
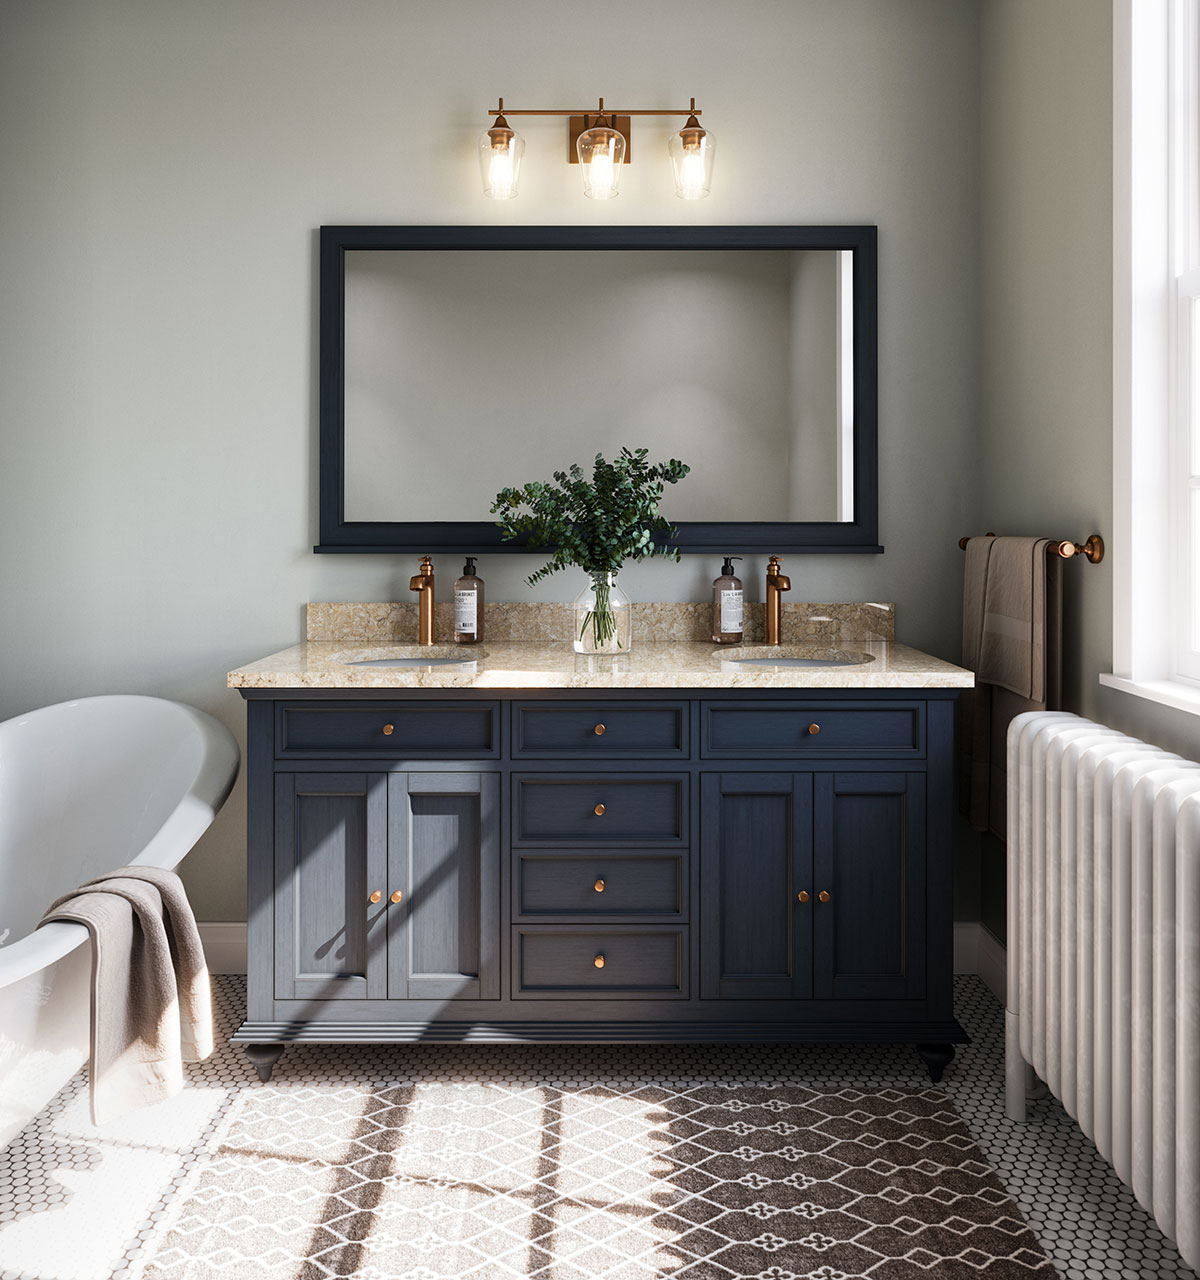
How to Choose Your Bathroom Countertops
When investing in a bathroom countertop, quality, style, and durability all matter. Cambria checks all the boxes, offering one of the nation’s largest selections of quartz colors and patterns. Whether you’re after timeless elegance, an earthy look, or a bold statement, there’s a Cambria design to match your vision.
Quartz is one of the hardest surfaces on earth, and Cambria’s manufacturing process makes their countertops virtually indestructible. They’re resistant to scratches, chips, and cracks—perfect for high-traffic bathrooms. Unlike other surfaces, the nonporous Cambria quartz countertops are naturally stain-resistant. No sealing or special cleaners needed—just a quick wipe with soap and water. Perhaps best of all, Cambria countertops come with a lifetime warranty, offering unmatched peace of mind that your investment is protected.
At Standard Kitchens, we proudly offer Cambria’s full line of quartz countertop designs, finishes, and edge profiles. No matter your unique project needs, our team can help you find the perfect option to bring your vision to life.
Ready to Replace Bathroom Countertops?
At Standard Kitchens, we’re here to help you replace bathroom countertops with confidence. We provide only the highest-quality countertop options—including the stunning, low-maintenance quartz from Cambria. We also carry a wide array of cabinets, hardware, and other building materials to help you complete your entire bathroom refresh. Contact us today to request a quote, or visit one of our showrooms to browse materials in person.