
How Do You Install an Exterior Door? Expert Guidance for Your DIY Project
Installing an exterior door yourself can be one of those DIY projects that feels intimidating at first—but incredibly rewarding once you know what you’re doing.
With the right tools, a little patience, and a step-by-step plan, many homeowners can successfully take on this upgrade.
Not only can a new exterior door boost your home’s curb appeal, but it can also improve security, comfort, and energy efficiency.
Below, we’ll walk through the tools you’ll need, the proper installation process, and when it might be worth hiring a pro. And if you’re still choosing the right door, we’ll also highlight trusted brands that we recommend at Standard Supply & Lumber.
What Tools Do You Need to Install an Exterior Door?
Before you make a single cut or turn a single screw, you’ll want to gather every tool and supply you’ll need for installing an exterior door. Having everything ready not only saves you time but also keeps the installation process smooth and stress-free.
Tool Checklist for Installing an Exterior Door
Necessary Tools
- Tape Measure: Needed for confirming rough opening dimensions and ensuring square installation.
- Level (2-ft. and/or 4-ft.): Essential for checking plumb, level, and even hinge alignment.
- Hammer or Drill/Driver: You’ll use these constantly, especially for fastening the frame.
- Screwdriver Set: Helpful for lockset installation and fine adjustments.
- Pry Bar: For removing the old door and any leftover trim or nails.
- Utility Knife: For cutting caulk, housewrap, shims, and insulation.
- Caulk Gun and Exterior-grade Caulk: A must for proper waterproofing.
- Shims: Thin wedges that help create a level and plumb opening.
- Construction Adhesive: For added stability under the threshold.
- Flashing Tape: Protects the sill and rough opening from moisture.
- Insulation (low-expanding spray foam recommended): Seals gaps around the jamb without bowing the frame.
- Safety Glasses and Gloves: Always smart to have on.
Optional Tools
- Chisel: Useful for hinge adjustments or strike-plate fine-tuning.
- Pliers: Helpful for pulling old nails or staples.
- Putty Knife and Spackle: Needed if you’re repairing surrounding drywall or trim during removal.
- Circular Saw: Only if you need to trim the door or cut away damaged subfloor/siding.
- Router: Only if you’re creating new hinge mortises or modifying the jamb.
It’s also smart to protect your floors before starting. Lay down a drop cloth or cardboard to shield your floor from scratches, dropped tools, or debris while working.
Should You Choose a Pre-Hung Door for a DIY Installation?
Yes—if you’re installing an exterior door yourself, a pre-hung door is almost always the best choice.
A pre-hung unit comes with the door already attached to the frame by hinges, along with a pre-installed threshold and weatherstripping. That means the most technical, alignment-sensitive parts of the job are already done for you.
For most homeowners, this dramatically simplifies the installation process. With a pre-hung door, you don’t have to worry about cutting hinge mortises, setting the slab perfectly in the frame, squaring the jamb, or building a threshold from scratch.
Why Are Pre-Hung Doors Recommended?
- Fewer Opportunities for Error: The hinges, jamb, and threshold are factory-aligned, so you’re not starting from scratch.
- Improved Energy Performance: Because the weatherstripping and sill system are already built into the frame, they tend to seal more effectively.
- Consistent Swing and Operation: Factory-installed hinges are mounted square, level, and true—something that can be challenging to replicate on-site.
- Faster Installation: Once your rough opening is prepped, the door can often be set and secured in a matter of hours.
When Are Slab-Only Doors an Option?
There are situations where a slab-only door could work, but they’re less DIY-friendly. You might consider a slab-only door if:
- Your existing frame is in excellent condition.
- You want to preserve existing interior or exterior trim.
- You’re matching historic details or a specialty jamb profile.
However, slab-only installations require you to be comfortable with tasks such as routing hinge mortises, drilling hardware holes, and aligning the slab within an existing jamb—all of which require precision and experience.
How Do You Install an Exterior Door Properly?
Now that you’re stocked up, let’s walk through how to install a pre-hung exterior door from start to finish. We’ll take this step by step so you can follow along easily.
Step 1: Remove the Old Door
Start by removing the existing door and frame.
- Use your utility knife to slice through any caulk around the trim.
- Pry off interior and exterior casing with your pry bar.
- Unscrew hinges, remove the slab, and then work the frame free from the rough opening.
Take your time here—rushing can damage your siding or drywall.
Step 2: Inspect and Prep the Rough Opening
Once the old frame is out, inspect the sill, subfloor, and framing.
- Make sure everything is structurally sound—no rot, soft spots, or water damage.
- Measure the rough opening. You’ll want at least ½-inch of wiggle room on all sides for shimming.
- Clean the area thoroughly and remove old fasteners or debris.
Step 3: Apply Sill Pan or Flashing Tape
Waterproofing is one of the most critical parts of installing an exterior door properly.
- Lay flashing tape along the sill, letting it extend a few inches up each side.
- Overlap layers so water naturally drains outward.
This prevents water intrusion and ensures the longevity of your new door.
Step 4: Dry-Fit the Door
Before you permanently install anything, dry-fit the new pre-hung unit.
- Set the frame into the opening to see if the door sits square.
- Check the margins around the slab and make sure it swings freely.
If anything looks off now, you’ll save yourself headaches later.
Step 5: Set the Door
Once everything looks right, install for real.
- Add a bead of caulk at the interior edge of the sill.
- With help (door units are heavy), tilt the frame into place.
- Insert shims at the hinge locations and latch side.
- Use your level to ensure the door is perfectly plumb and square before fastening.
Step 6: Secure the Frame
When your shims and level check out:
- Drive screws through the hinge-side jamb first—this keeps the door aligned.
- Install screws through predrilled holes on the latch side.
- Do not overtighten; it can bow the frame.
Open and close the door frequently during this step to ensure it operates smoothly.
Step 7: Insulate the Gaps
Once the frame is fully secured:
- Fill the gap between the jamb and framing with low-expanding spray foam.
- Avoid overfilling—too much foam can warp the jamb.
Step 8: Install Trim and Seal the Exterior
Finish your installation with proper sealing.
- Reinstall or replace the interior trim.
- Seal the exterior perimeter using a high-quality exterior caulk.
- Add drip caps or flashing as needed depending on your home’s siding.
Step 9: Install Hardware
Finally, add the finishing touches.
- Install the handle, lockset, deadbolt, and any additional security hardware.
- Test everything to ensure smooth operation.
Congratulations—you’ve successfully completed installing an exterior door!
Exterior Door Installation Tips for Homeowners
A few expert tips can make the process even smoother:
- Check your measurements twice. Most DIY problems come down to incorrect rough opening dimensions.
- Bring in help when lifting. Exterior doors are bulky, and dropping one can instantly damage the frame.
- Don’t skip waterproofing. Improper flashing can lead to long-term water damage—one of the most common installation mistakes.
- Make sure the door is perfectly plumb. Even being slightly off can cause issues like uneven gaps, air drafts, or latch failures.
- Install screws behind weatherstripping. This creates a cleaner look and helps keep screws protected from moisture.
- Test the door frequently during installation. Open it. Close it. Lock it. Don’t wait until the end to discover alignment issues.
Should You Hire a Contractor to Install Your Exterior Door?
While many homeowners can successfully install their own exterior doors, it’s not always the easiest DIY project.
Sometimes, it truly is worth hiring a professional—especially when:
- Your rough opening needs structural repair
- You have a heavy or premium door (like solid wood or a pivot door)
- Your home is older and requires extensive leveling or reframing
- You’re installing a door with sidelights or transoms
- You want peace of mind knowing the warranty stays fully valid
A contractor can complete the job quickly and correctly, ensuring long-term performance and energy efficiency. But if you’re handy, patient, and following the proper steps, DIY installation can absolutely be a gratifying and cost-saving project.
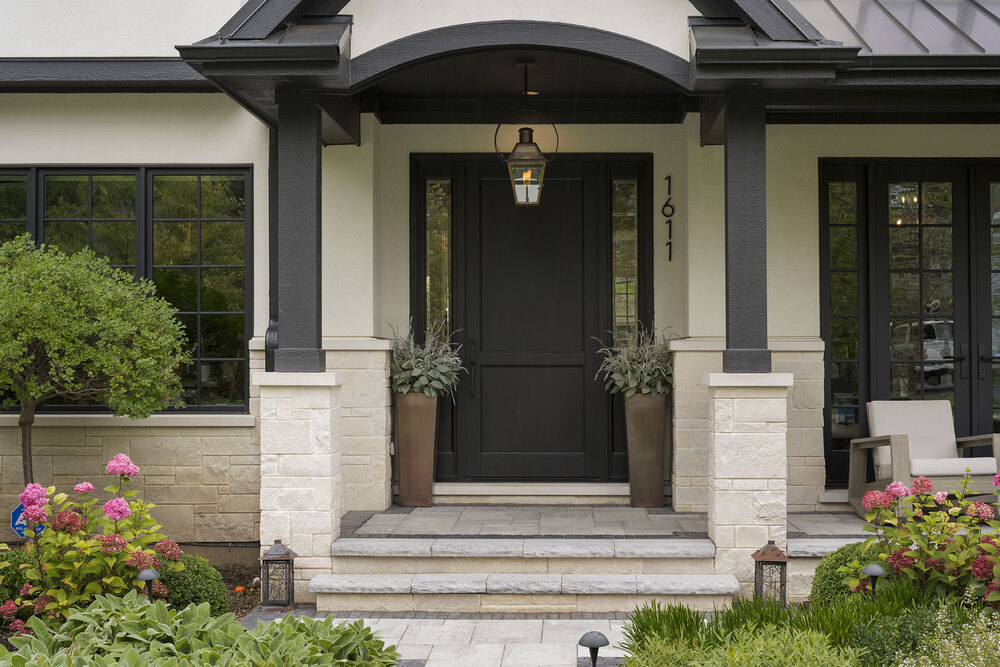
What Are the Best Exterior Door Brands?
Whether you’re installing an exterior door yourself or hiring someone else to handle the job, starting with a high-quality door makes all the difference.
At Standard Supply & Lumber, two of the most trusted names we recommend time and time again are Therma-Tru and Glenview Doors. Each brings style, craftsmanship, and long-lasting performance.
What Are Therma-Tru Exterior Doors?
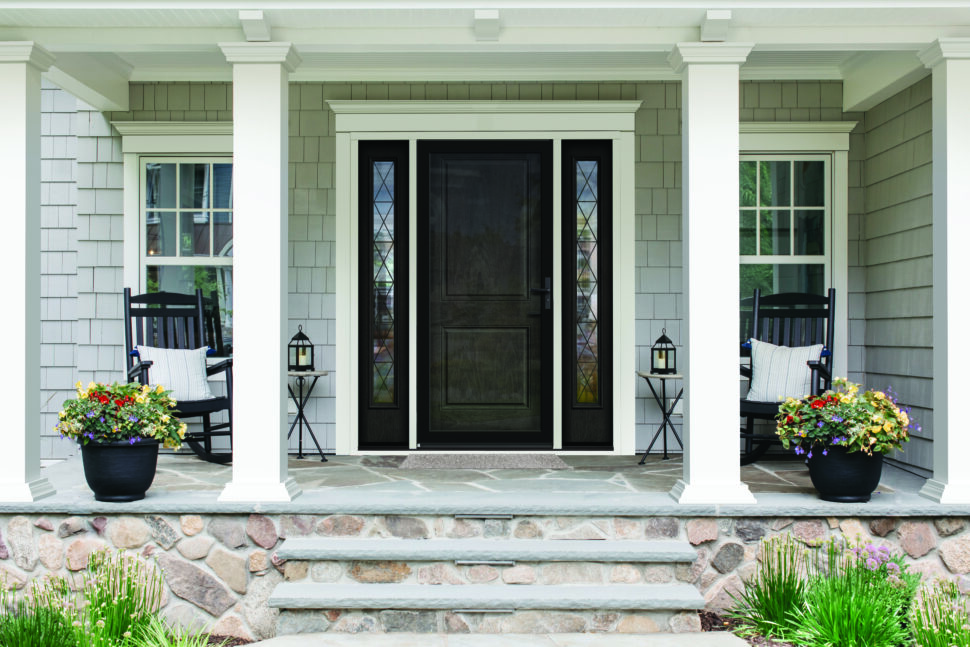
Therma-Tru is one of the most recognized names in exterior doors, known for blending elevated design with impressive durability. As pioneers in fiberglass door technology, they’ve been a go-to choice for homeowners since the early 1980s.
At Standard Supply & Lumber, we carry a wide variety of Therma-Tru options—perfect for different architectural styles, budgets, and performance needs.
Why Choose Therma-Tru Exterior Doors?
Built for Long-Term Performance
Therma-Tru fiberglass doors resist many of the issues that plague traditional wood—such as warping, rotting, or swelling. Their steel doors offer excellent strength while remaining budget-friendly.
Every door undergoes extensive testing to ensure it withstands harsh weather, UV exposure, and daily wear and tear.
Outstanding Energy Efficiency
Therma-Tru’s polyurethane foam cores help maintain indoor temperatures more effectively than many wood options.
Many models are ENERGY STAR® certified, which means lower energy bills and a more comfortable home year-round.
Enhanced Security Features
With solid lock block construction and robust internal stiles, Therma-Tru doors provide reliable protection where you need it most—your home’s main entry point.
Complete Door Systems
Therma-Tru engineers their doors to work as a complete system—glass, frame, sills, and components included. This reduces air leakage, improves weatherproofing, and maximizes durability.
Industry-Leading Warranties
Many of their fiberglass door systems come backed by limited lifetime warranties, giving you long-term peace of mind.
Therma-Tru Collections
- Classic Craft®: High-end fiberglass doors that replicate the richness of wood.
- Fiber-Classic®: Their original collection with warm, wood-grain textures.
- Veris: Sleek, contemporary glass-forward designs for indoor-outdoor living.
- Smooth-Star®: Smooth, paintable fiberglass options perfect for bold colors.
- Profiles: Sturdy, budget-friendly steel doors with fire-rated options.
- Traditions: An affordable steel series offering solid performance at a great value.
What Are Glenview Doors?
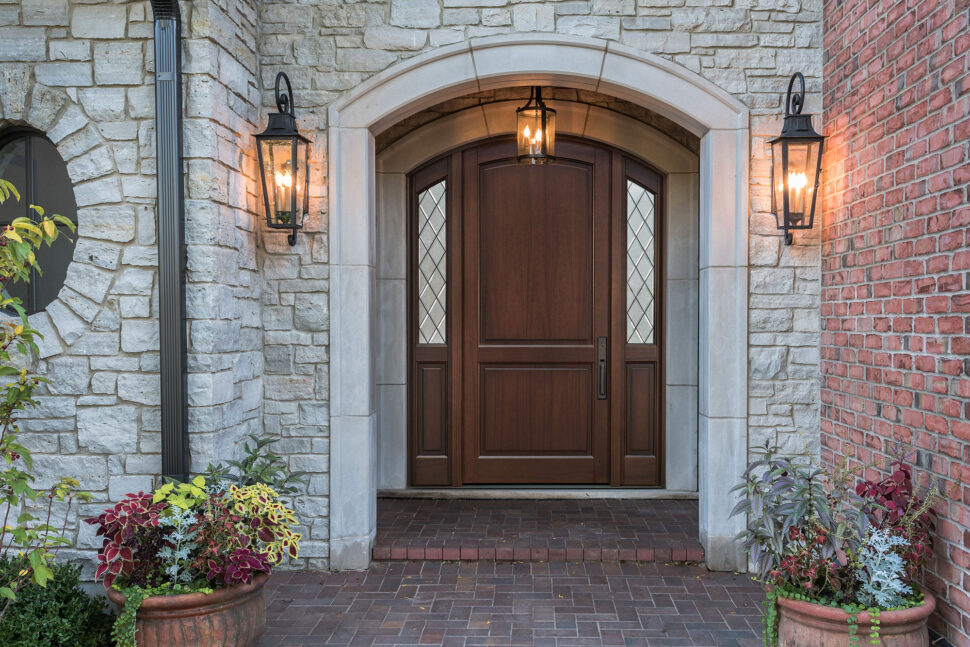
Glenview Doors has built its reputation on craftsmanship and innovation—particularly when it comes to luxury wood entry doors. While they also offer steel and aluminum-clad products, their wood and custom options truly set them apart.
Everything they build is engineered for long-lasting performance without sacrificing the artistry homeowners love.
Why Choose Glenview Doors?
At the core of Glenview’s wood doors is their proprietary EuroTech™ construction, a multi-layer build designed to solve the biggest problems associated with traditional solid wood doors.
Glenview Doors use a layered structure that includes:
- A high-performance insulating core
- Engineered, stabilizing stiles and rails
- Premium hardwood veneers for natural beauty
The result is a door that looks like solid wood but resists warping, cracking, swelling, and other climate-related issues. Their slabs are nearly 2¾ inches thick, offering better insulation, durability, and presence.
Most doors come pre-finished, pre-hung, and tailored to your specifications. Glenview Doors also offers one of the strongest warranty programs for premium entry doors, ensuring long-term confidence in your investment.
Glenview Doors Collections
Wood Door Collections
- Modern: Crisp lines, rich veneers, and optional glass or metal accents.
- Classic: Traditional designs with leaded glass and elegant detailing.
- Craftsman: Warm, simple designs inspired by Shaker and Mission architecture.
- Heritage: Ornate, European-inspired designs with intricate craftsmanship.
Aluminum Clad Doors
These combine the beauty of wood with a protective aluminum exterior—ideal for harsh climates or those wanting low maintenance.
Steel and Glass Doors
Designed for modern homes, these doors offer slim profiles, large glass panels, and impressive strength.
Customization Options
Semi-custom and fully custom solutions allow homeowners to personalize:
- Wood species
- Veneer styles
- Glass designs
- Hardware
- Sidelights, transoms, or pivot configurations
Installing an Exterior Door? We’ve Got You Covered.
Whether you’re tackling installing an exterior door on your own or deciding whether to bring in a contractor, Standard Supply & Lumber is here to help you succeed.
Not only do we carry top-quality brands—like Therma-Tru and Glenview Doors—but our team is always ready to help you choose the right product and guide you through the installation process.
And if you decide that you’d rather leave the job to a professional, we can connect you with trusted contractors who take the same pride in their work that we do.
Ready to get started? Reach out to Standard Supply & Lumber today. We’re here to help make your exterior door project a success.